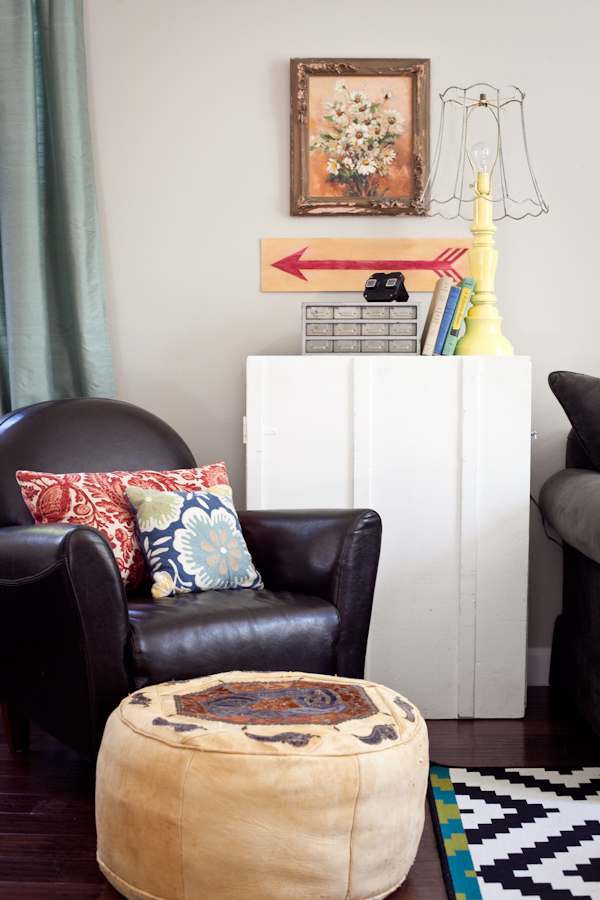
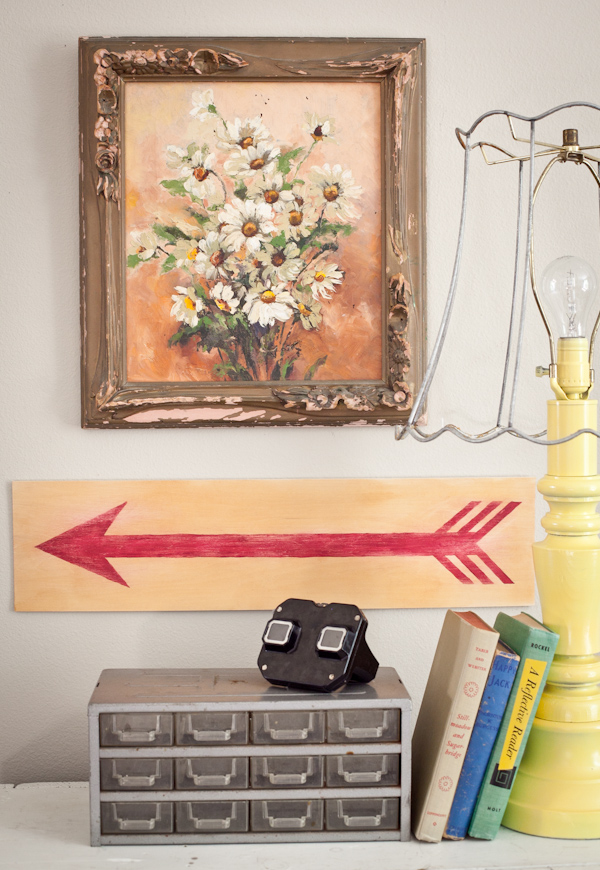
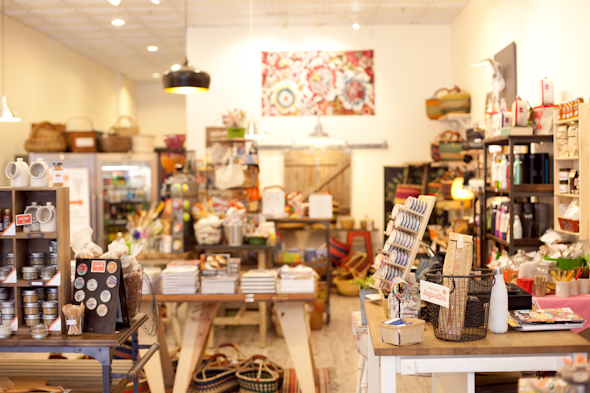
My sister and I saw the most adorable, vintage arrow sign at a boutique in Paso Robles a couple weeks ago, but it wasn’t for sale. So we decided to get crafty and do make one ourselves. It was really easy. Don’t get turned off by the measurements–basically, you just want everything to be centered and symmetrical
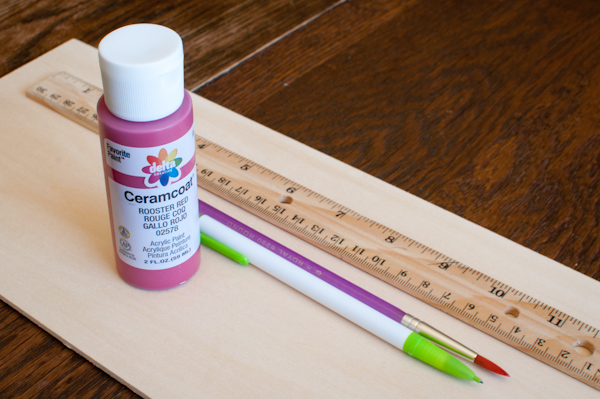
We used balsa wood, red paint, a ruler, pencil and sandpaper.
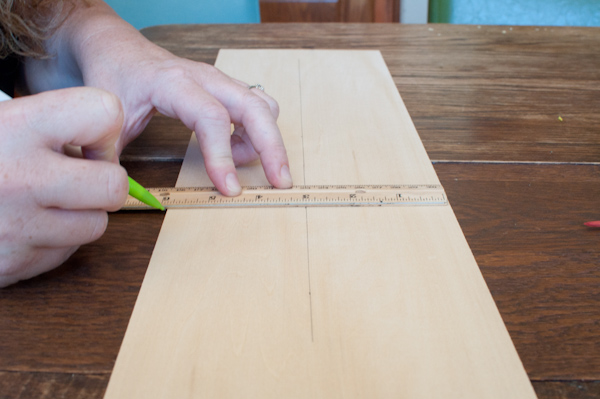
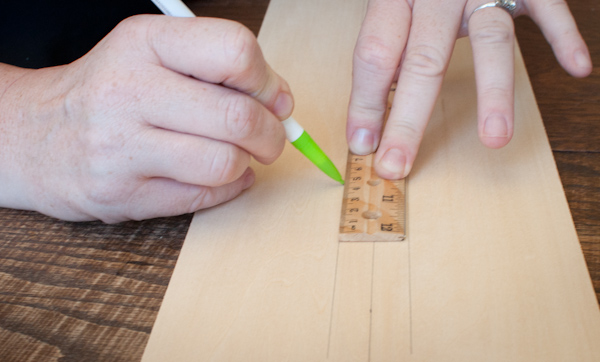
1. Measure the center of your sign and draw a line all the way down. This will be the center of your arrow.
2. Draw lines on either side of your arrow, equal distance from the center. This is the width of your arrow.
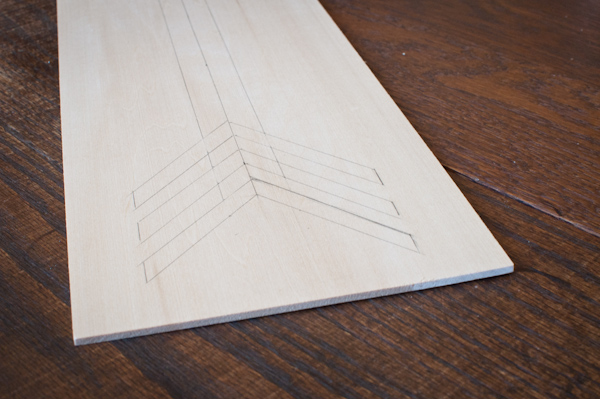
For the detail at the end of the arrow, we decided how far from the edge each tail feather should go, then drew a pencil line. Measure 1/2″ or so between and draw dots, connect all your dots and you have symmetrical lines.
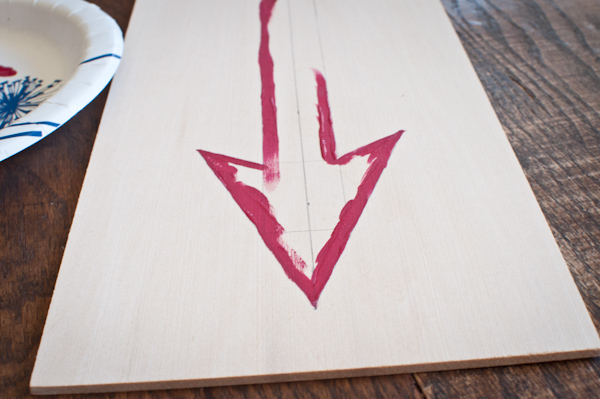
Erase all extra pencil marks and begin painting the edge of your arrow with a clean line. I small paint brush makes it easier.
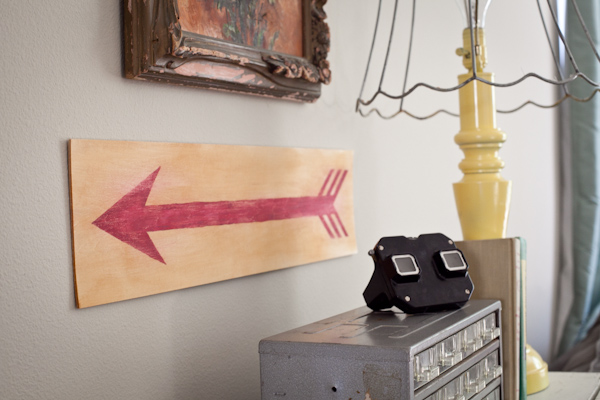
Once it was dry, I heavily sanded it to give it an aged feel.
It points the way to the kitchen, which is where we all hang out. So it’s perfect!
Are you ready to make your own arrow?


where did you get your balsa wood sheets at? 🙂
A local craft store called Beverly’s–but you should be able to find something similar at Michaels or Hobby Lobby. xx
I love the arrow painting! I was just wondering what the measurement of the board is, approx. I would love to make one! Thank you
Cassie
wondering where you got the lamp… or did oyou just strip the shade? the whole scene is lovely
Hi Bonnie!
Yes I bought a lamp at a thrift store, striped the shade and spray painted the base. xx
i love your whole set up it really looks cool. although i wonder what the arrow is pointing at