So you saw yesterday’s post and our big announcement, right? Can I tell you–your response knocked my socks off. Any time I launch a new product, especially a new collection, it’s vulnerable and scary. But I fell like you celebrate with me and speak kind words. I am grateful!
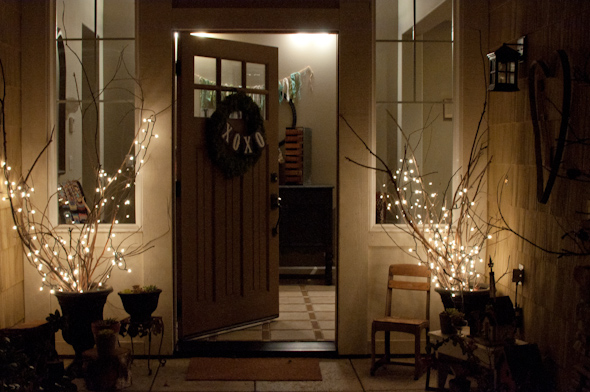
I wanted to share a bit more about our entryway and how I did the chalkboard frames.
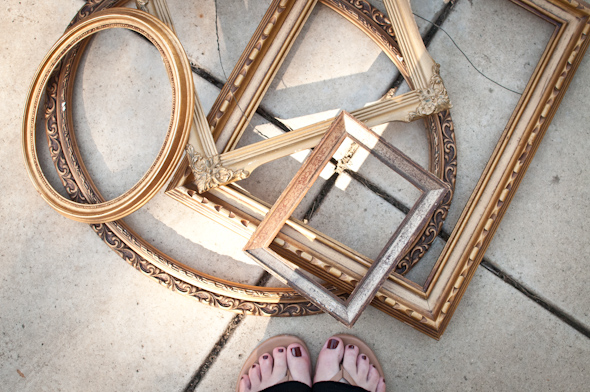
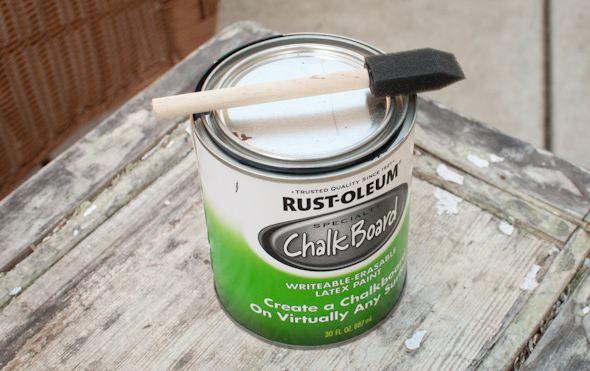
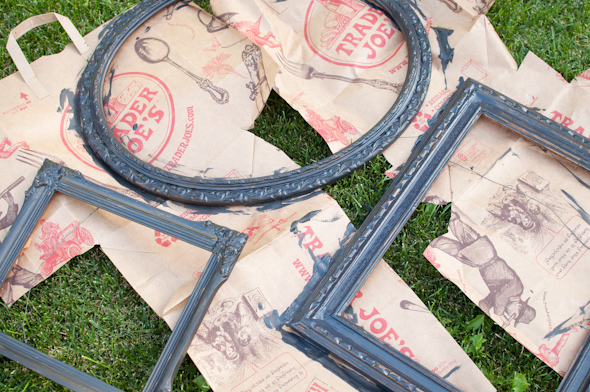
These frames were asking for a coat of paint and since I didn’t have regular black paint, I decided to use chalkboard paint, because why not?! But by the end things got a little more creative and I ended up loving the results.
If I see a frame at a thrift store with good detail, I usually pick it up. You never know when you’re going to need a good frame, right?
I already had this paint from previous projects. I picked it up at Home Depot.
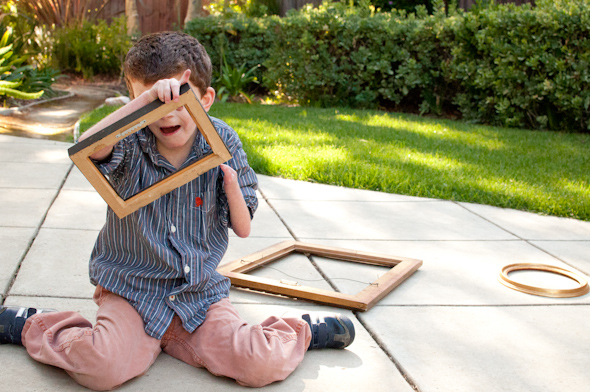
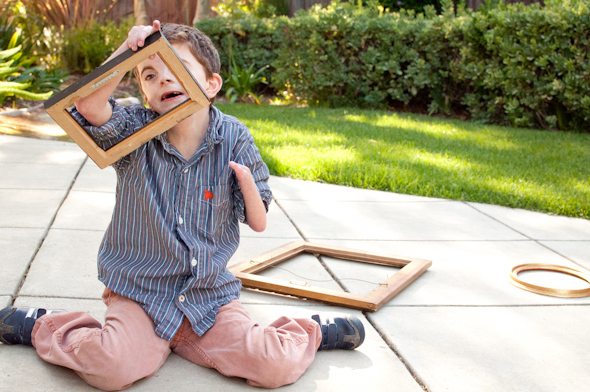
David was a great helper. Well, I take that back, David was great company. He was smiley and encouraging. But he never picked up a paintbrush!
Rascal.
I love that kiddo!
It took a couple coats to get the frames covered, but it was a warm day so the paint dried quickly. I waited about an hour in between coats.
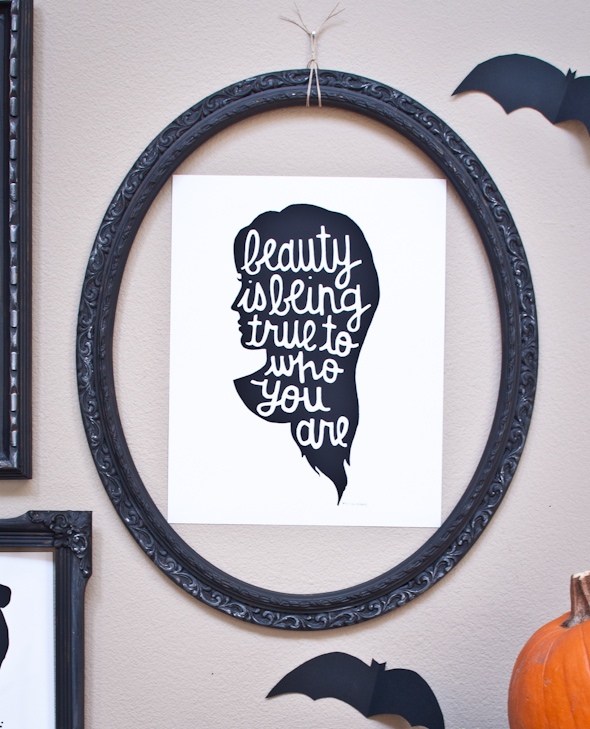
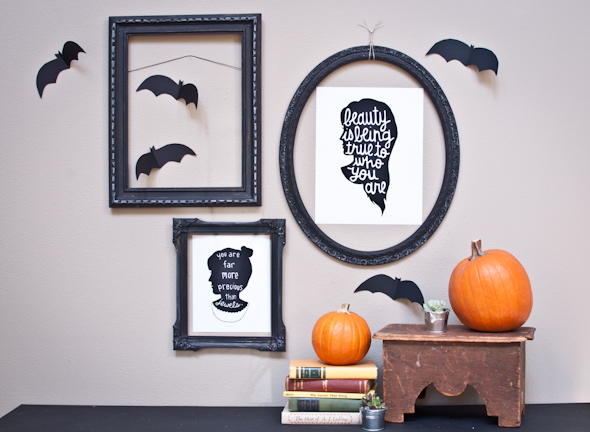
I let the paint dry overnight and then I rubbed white chalk along the frames and used my finger to make it look subtle and get it into the grooves. I love the way it brings out the details of the frames. Chalkboard paint with chalk is awesome–even if it’s not a writing surface. it gives so much more texture than just flat black paint.
And here’s another shot of our entryway complete with some posters from our new paper & cloth collection. Today is the last day to get a free fantastic tote with any purchase of at least $25. Awesome!!
Are you ready to break out the chalkboard paint and chalk and give some old frames texture?




Just ran across your cute blog/shop. I absolutely love it! Let me know if you would ever be interested in a collaboration. I’d love to tell my readers more about your adorable shop!
xoxoivylauren.blogspot.com
I am thrilled for you with all your happenings!