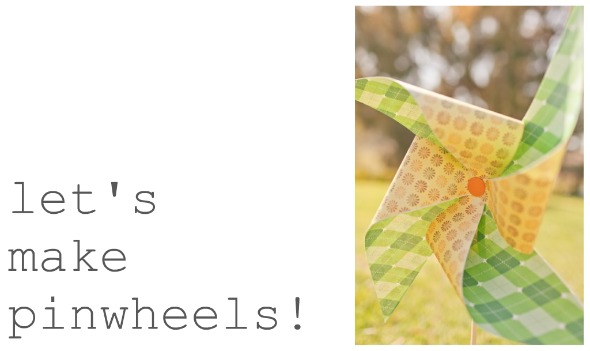
 i made about 25 large pinwheels for our photo shoot the other evening. they are really easy. once i got going they took about 3 minutes each–not bad!
supplies…lots of fun paper {i used scrapbook paper that was already a large square}, large, fun brads, scissors, dowels or wooden skewers, wire or hot glue to attach to stick.
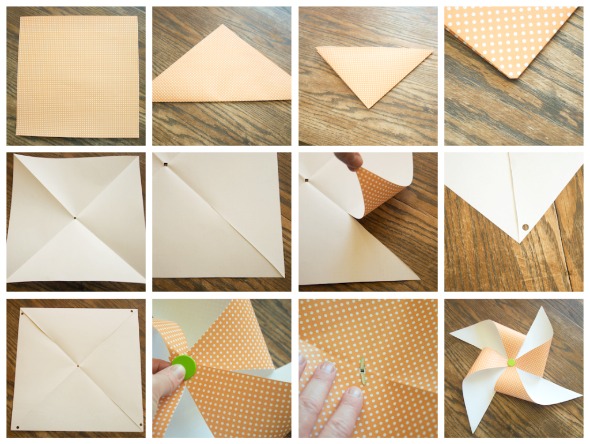
2. fold in half diagonally
3. then fold diagonally again
4. snip off the very tip {just a tiny bit to create a hole in the center of the square}
5.unfold
6. cut just over half way up each fold
7. punch a hold on right side of each cut
8.gather four holes together and place a brad through all four
9. push brad through hole in center of square
10. fasten brad on reverse side
11. use two sheets of paper, back to back for double printed pinwheels
12. attach skewer or dowel to back of pinwheel with wire or glue gun
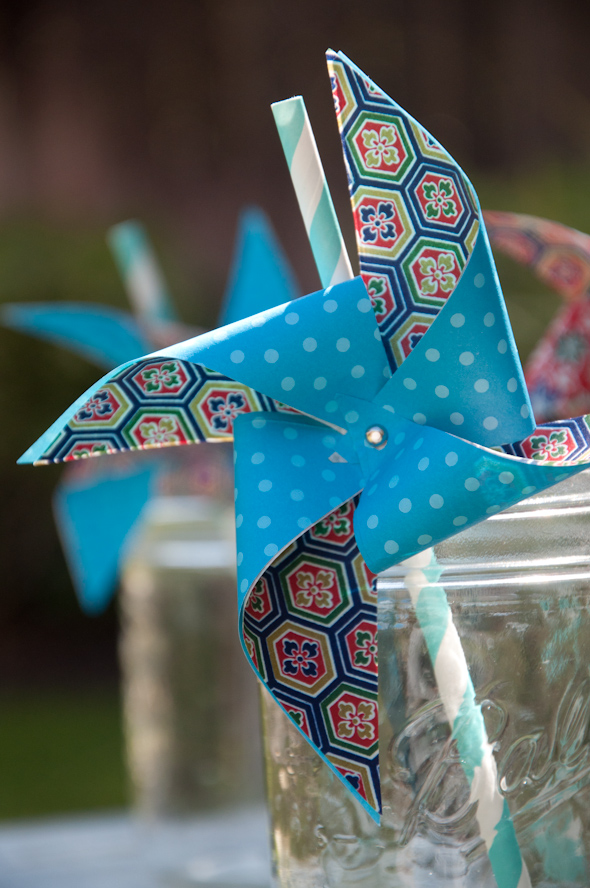
you’re done. so easy! these would make such a cute centerpiece for a summer party. or they would be sweet lining a pathway too!

Did you thick cardstock scrapbooking paper or the thinner version?
Yes, I used scrapbooking paper. xx
You have a amazing blog right here, actually useful. Quite nicely written I shall be book-marking this website and subscribing to your rss feed in order to regularly read content for this high quality.
Love this!
Whew…. saved me a ton on wedding flowers… did the brown on the back and the bright yellow on the inside – perfect sunflowers… awesome…. thank you!
These are adorable! I’m totally going to have to make these for the next birthday party 🙂
Fun to make…
Love family photos with pinwheels!
I read on another site that to make them functional you can put in a grommet and then the brad/pin into the stick. It also suggested chopsticks as an alternative stick. So cute!! I’m going to try to make a few of these tomorrow for my photo shoot on Saturday.
I’ll have to post pictures of the first birthday party of my granddaughter where pinwheels are part of the theme. Such cuteness. Thanks for the tutorial.
Lisa~ love the pinwheels! I blogged about you today…I love your rain & shine necklace, and have been blogging for about one year…only friends of mine are “followers”, but I wanted to share your jewelry with them. Check out my blog if you get a chance. 🙂 Sarah
soupssaucesandmore.blogspot.com
Such a fabulous idea! Thank you so much for sharing such a great idea, and so very artfully presented!
so fun!!
How fun! And I absolutely LOVE your pinwheel “Play Every Day” necklace!!
Awesome idea! I’m totally making some of those! I like the idea of using them for a fun summer centerpiece!
these are gorgeous and so so sweet – and they look so easy! just one question: do they actually spin? can you give more specific tips on how you attach the brad to the dowel so that it actually spins?
hi dawn! i wrapped wire underneath the brad and then around the dowel. it wasn’t pretty or perfect but they did spin a bit in the wind. they don’t spin just by blowing on them and honestly, i hadn’t expected them to spin at all! but it was a breezy evening and they did spin a little.
I am soooo in love with these!!
Cute! I want to see the photos from that shoot!
LOVE! perfect to do with the kids this summer! thank you for sharing.
Ooh, I am so excited to try this!!!