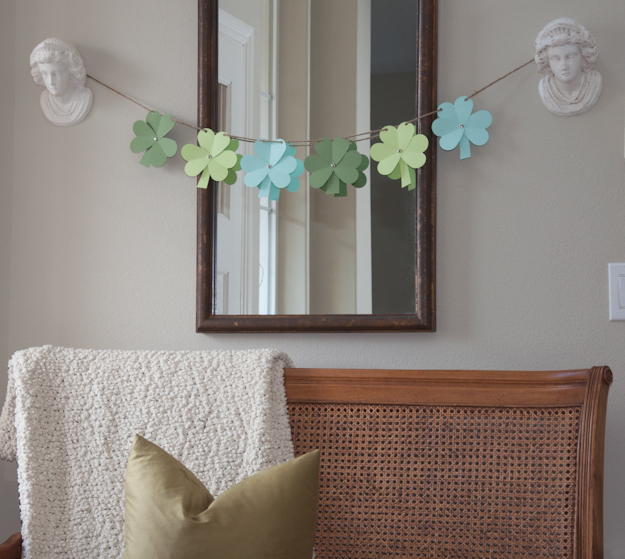
Hello friends! Can’t you believe it’s March 1st? March means spring is right around the corner. I cooked up a little shamrock project to share.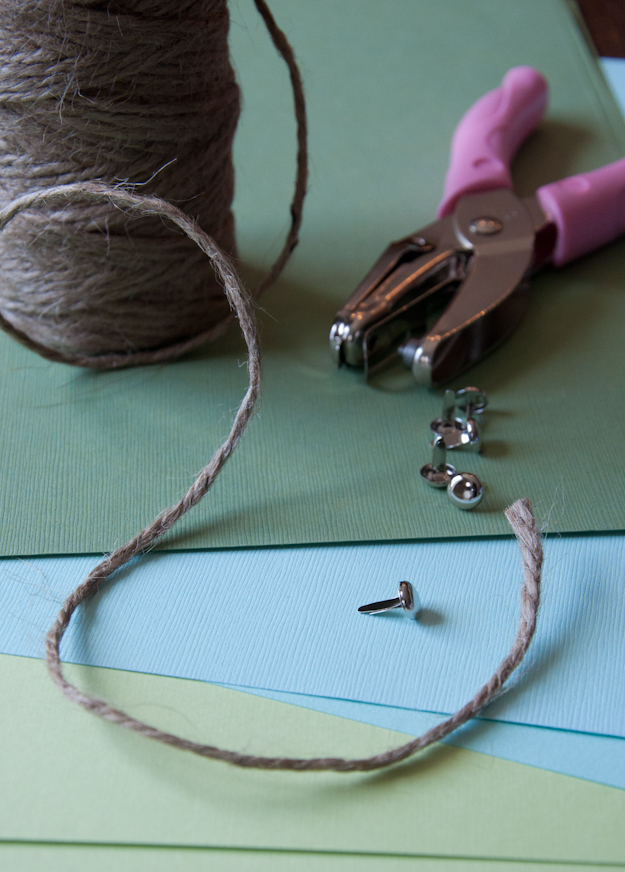 All you need for this project is some thick paper {I shopped the scrapbooking section at our Michael’s}, brads, hole punch, scissors and twine.
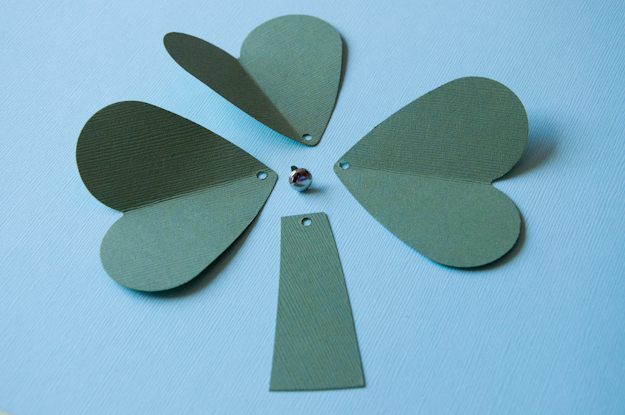 Each shamrock needs three hearts and a stem. I folded the hearts down the center to give the shamrock more depth.
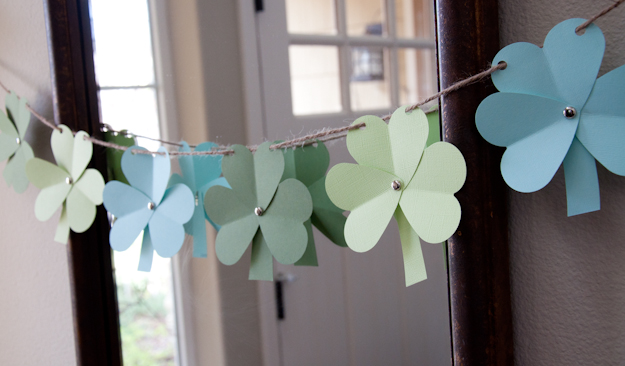 Punch two holes in the top of each shamrock to string the twine through.
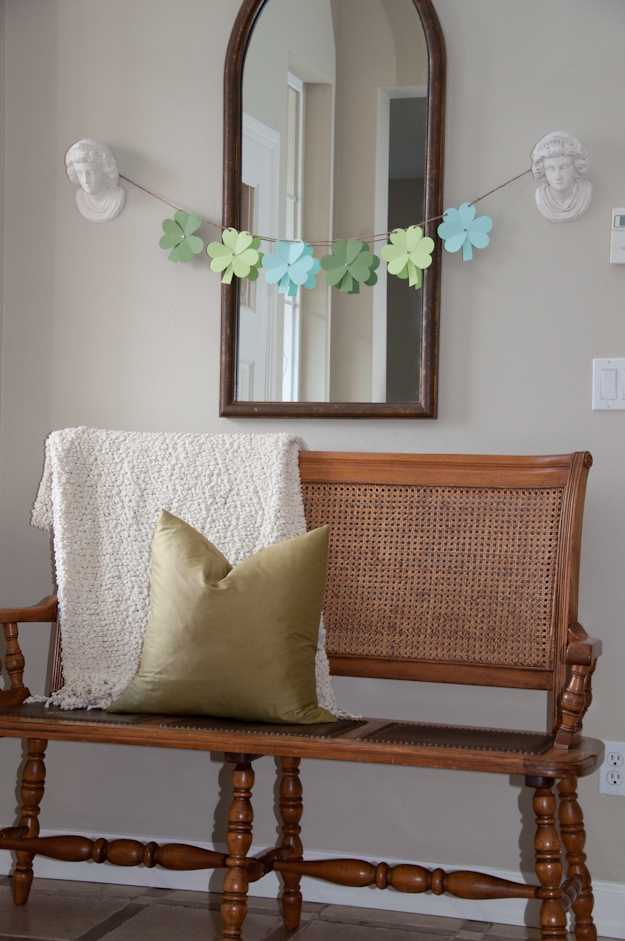 So fun and a hint that spring is coming too!
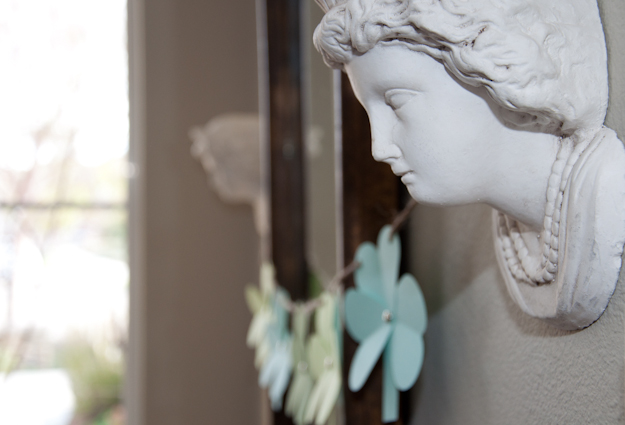 These plaster heads are still watching over our entryway, which is about to get a makeover.
 Remember this post? The winning color for painting the bench is yellow. I’m off to buy paint and hopefully I’ll share our bright, new entryway in the next couple weeks!
Are you looking forward to spring?



Hi Lisa! I made this banner a few years ago and LOVED it, but my little guy recently crunched it so I had to toss it. I shouldn’t have because I see you don’t have a template but I swear you had one before? xo
I made these and posted about them today {being sure to give you credit}, thanks again for sharing this wonderful project! 🙂
http://mydarlingdays.blogspot.com/2012/03/diy-shamrock-garland-st-pattys-day.html
I just made two sets of shamrock garland (one for the fireplace and one for the bay window) with my kids who were home sick today. Great activity!
While the guys played Settler of Catan we girls made shamrock garlands. Thanks for posting!
I love Spring…and it’s hard to beat in Florida…but it already feels like Summer! It’s hard to complain about the beautiful weather we’ve had…but I wish it was a tad more Spring-like (because if it’s hot on March 2nd-I’m afraid what July & August will be like. ) 🙂 Love the Shamrocks!
See I have to make these for my daughter’s bedroom as she is called Clover! Perfect, thanks for sharing.
This is so cute and I love the colors you chose. They’re not too crazy so it blends in well.
Very cute. I think I might have to make one. : )
That’s cute. I love twine!
Yes! Soo looking forward to spring!
This is so cute and dainty. If you get a chance, please join me at feelLOVDeveryday today to share in prayer for the city of Chardon, Ohio. Pain shared is halved. Thank you!
http://feellovdeveryday.blogspot.com/2012/03/defining-town.html
Well aren’t these puppies fun! Pinning and making… I need some St. Patty’s Day Decor and this I can handle! 🙂
love it!
(and i’m so happy that yellow came out on top. yay!)
LOVE your shamrocks Lisa, I don’t usually decorate for the “little” holidays, but I AM Irish, a little shamrock action in my home might be fun!
Love this! Will definitely be giving this a go!
Thanks for the inspiration.
how cute!!! even i can make that…thx! ;}
m ^..^ {erin go bragh!}