Can I just tell you how much I love this DIY? A LOT! It’s pretty straight forward with fun results. And older kids should be able to do the project as well!
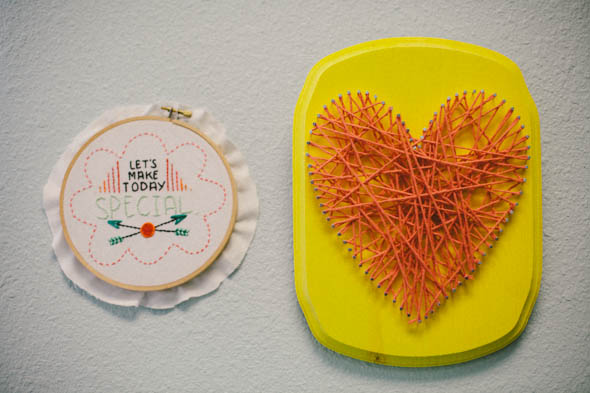
All you need are a wood backer {I found mine at Michaels}, paint {if desired}, a pattern, nails, hammer and string or yarn.
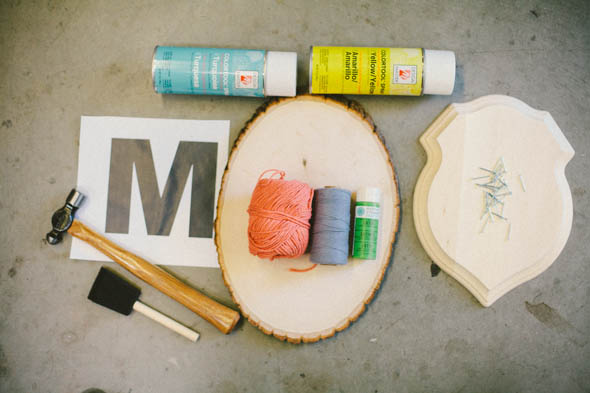
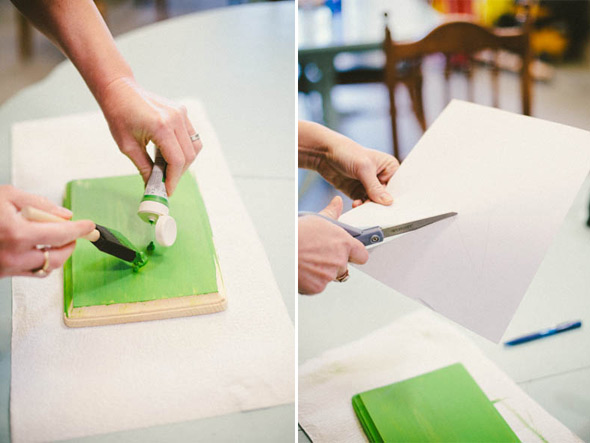
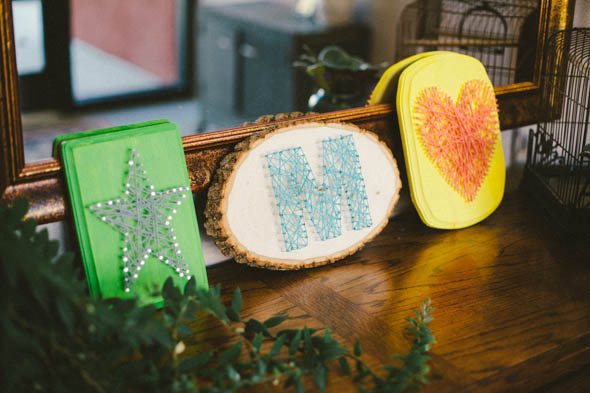
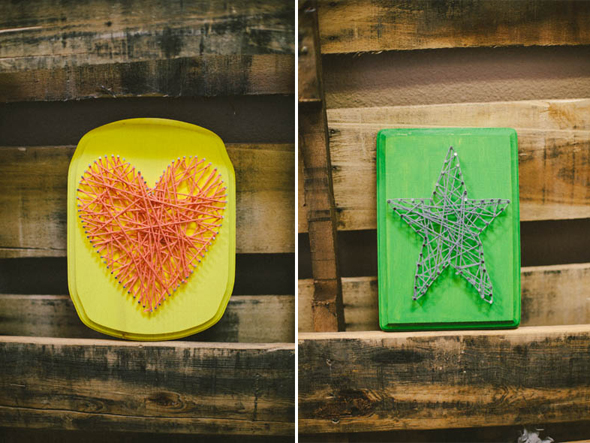
For the star and heart designs, I simply drew a sketch and cut it out on while paper. For the ‘M’ monogram, I used a large, straight font and printed it off the computer. Easy!
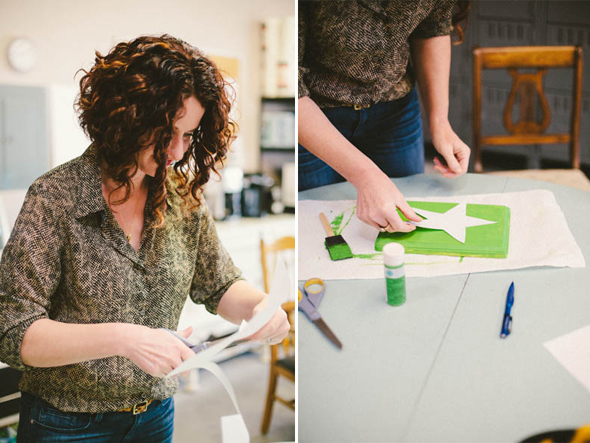
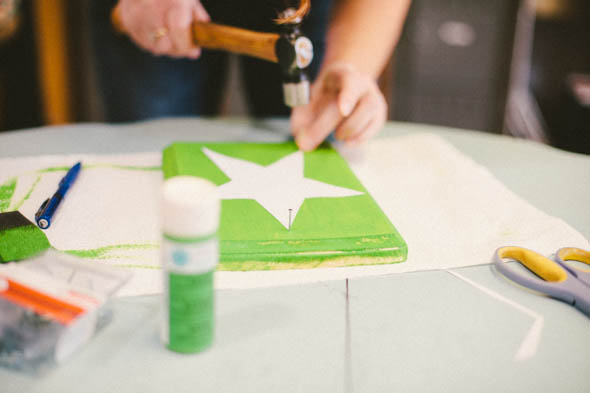
Lay your pattern down and place nails all around. About 1/4-1/2 inch apart.
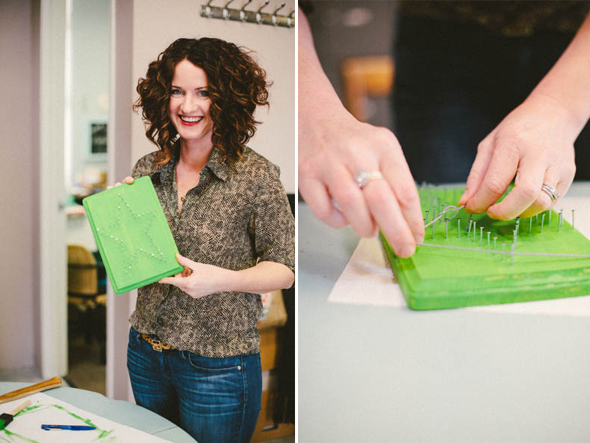
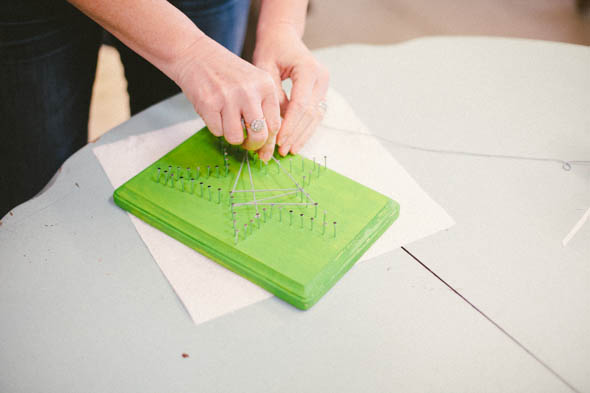
Then tie on the string to begin. It’s very free form and it’s best to work in sections. Just wrap the string back and forth until you get a nice pattern. Make sure to wrap string tightly so it won’t unravel.
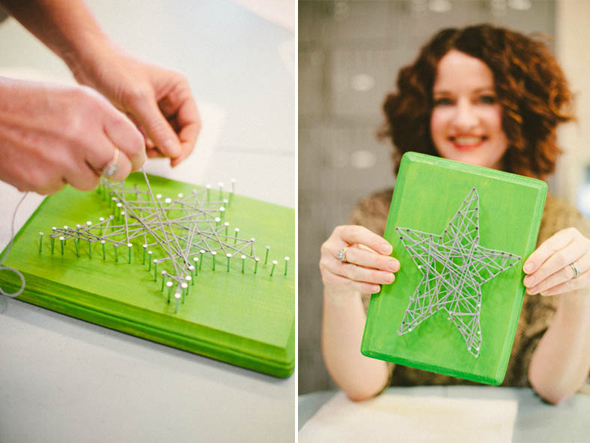
For the star and the ‘M’, I outlined with string to give them definition. Super fun!
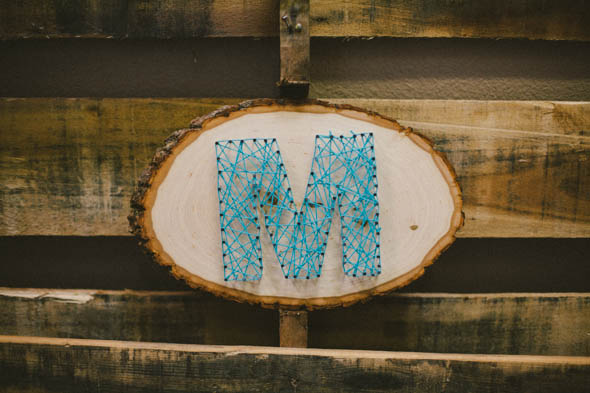
I think this ‘M’ will be perfect for Matthias’ bedroom.
Which one is your favorite?

![My Spark, My North Star IMG_1951[1]](https://blog.lisaleonard.com/wp-content/uploads/2017/03/IMG_19511-e1490653525434.jpg)

I can see why you LOVE this! So cute!! This may inspire me to gather a few friends for a fun little craft night after all the kiddos are asleep. (Love that it’s simple and doesn’t require a ton of thought or accuracy…gives you the joy of being creative even if you’re zapped from a long day!) Thanks for sharing!!
I couldn’t agree more! Thanks Becky!!
Oh, how cute! I’m liking that M the wood with bark is extra cute.
I kind of freaked out when I saw the bark wood–love that texture.
LOVE LOVE LOVE! This is awesome!
Thanks Anne!!
The M, because I like the natural look of the wood backing. I just bought some spoons and stamps to start your last tutorial… So excited!
Yay! Did you see the segment on Studio 5? xo
I really love the M! The heart would be fun too. I’ve always wanted to try something like this, thanks for the inspiration:)
I’m thinking I want to do a big L for over our fireplace soon!
I like the bright yellow with the heart. What a fun project this would be for my girls.
I think the yellow background really makes it POP! Hugs to you!
What a fun little project – I love how freeform it is, and so easy!
It’s perfect for people who aren’t perfectionists!! xo
What a nice surprise today! I will def add this to my craft room projects list! Thanks so much!!
Yay! I love a list of craft projects!!
Here’s my string art from way back…
http://feellovdeveryday.blogspot.com/2012/07/what-i-made-wednesday-my-hometown.html
That’s adorable!! Love the heart, too!
So cute and fun! I may have to try it.
I like the M the best also. And you’re right…something as simple as outlining it really makes it stand out. Fun project!
I think the outlining is key. Thanks Sarah!