Have I ever mentioned how much I love scouring thrift stores for hidden treasures? I love taking ordinary finds and making them beautiful. Lately I’ve been on the hunt for vintage thermoses {to use as vases} and old rugs. One of my favorite things to reinvent is to take old frames and turn them into chalkboards. Chalkboards are perfect for doodling and making lists–I’ve got them around my home and in the workshop. Here’s a few steps to creating your own vintage framed chalkboard.
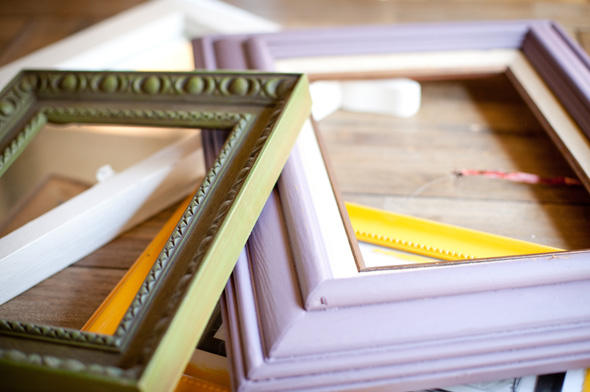
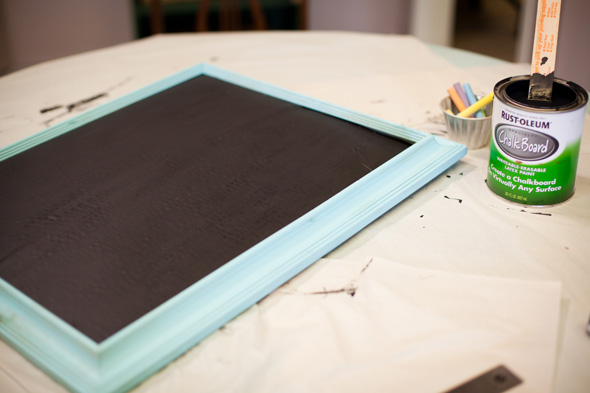
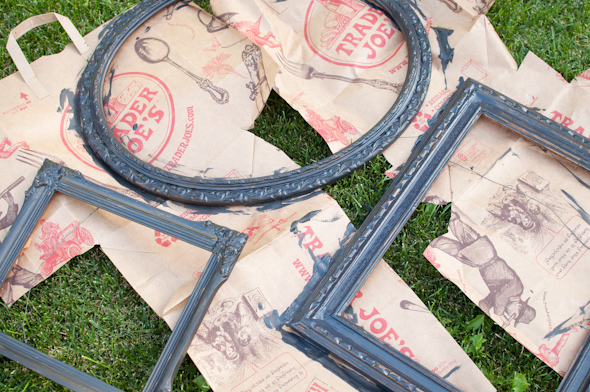
First things first, choose a frame. It can be literally anything– a framed mirror, picture frame, or even just a piece of wood. I often stumble across a beautifully dinged up frame when thrifting and pick it up, so I may or may not have a collection going. {don’t look in my garage, ok?!} Today I’m going to use a backless teal frame. I usually paint the frame, but I liked the vintage feel of this frame so I’m leaving it be.
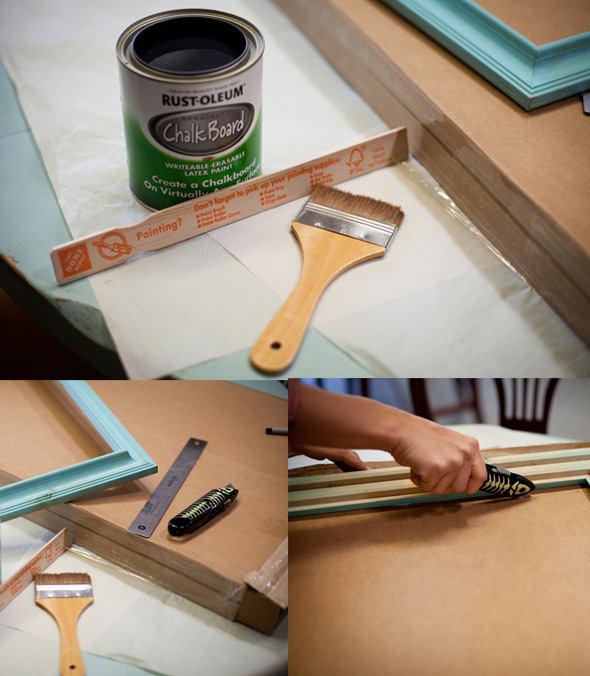
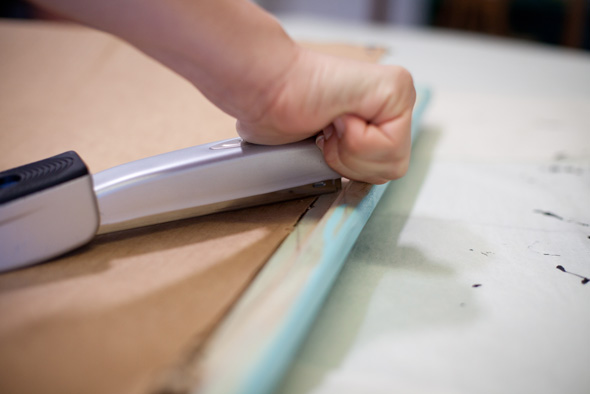
I found my chalkboard paint for $10 at the Home Depot, but it can be made at home as well. Since my frame had no back, I found a large piece of cardboard from my workshop and cut it using a razor & the frame for the dimensions. Be careful to not cut too small. A piece of wood works well too.
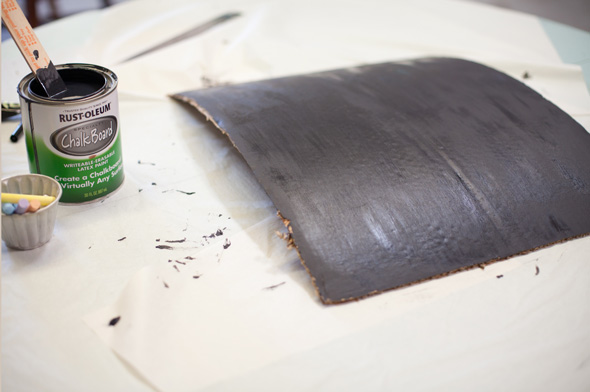
After you’ve cut out your surface, it’s time to paint! Make sure the paint is well-stirred & apply a few layers to get a nice solid coating.
Time to attach your painted surface to the frame. I simply used a stapler, but a hot glue gun or small nails will do the job just as well. The cardboard will be a little bent from the paint, so make sure you use something secure to hold it in place. You can also have plywood cut to fit your frame for a sturdier surface.
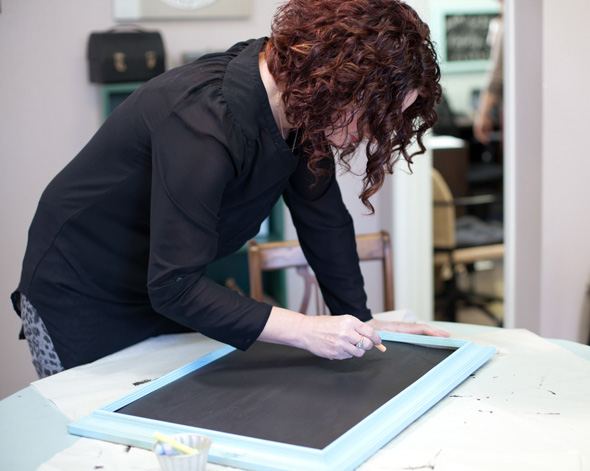
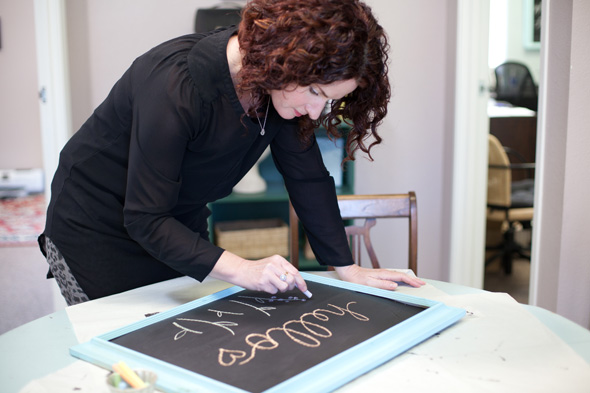
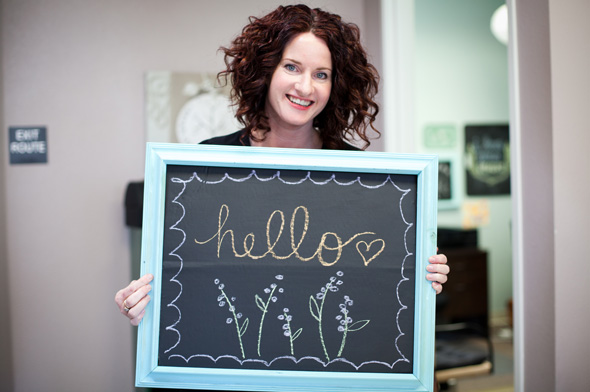
Easy, peasy, right?! Time to get creative with some fun chalk colors.
Yay! This one is hanging up in the workshop now.
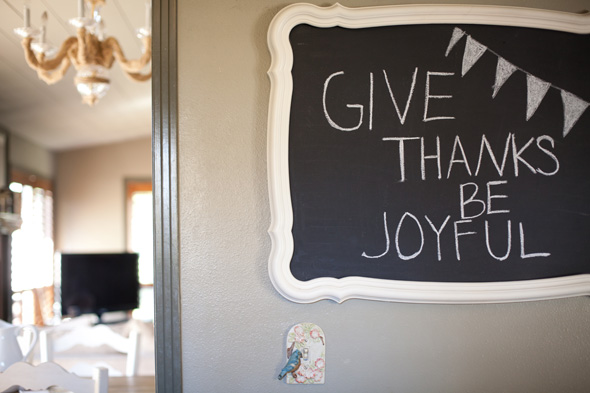
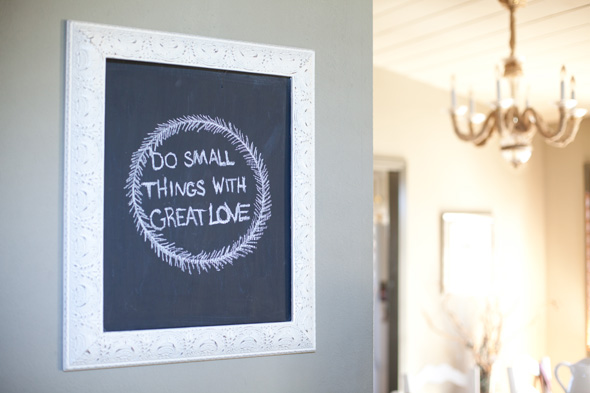
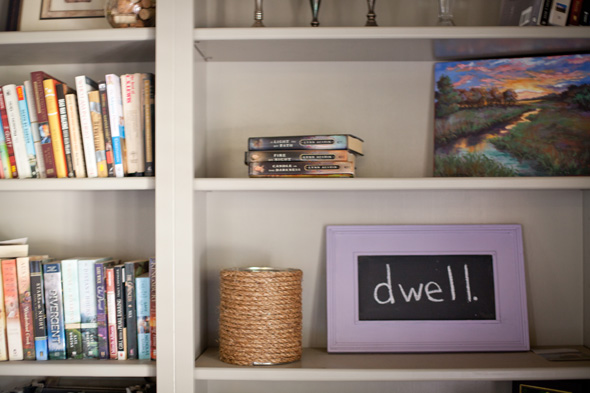
Here are some of the ways I have used chalkboards to inspire me both at home and at the workshop:
Sarah from our customer care team has these chalkboards hanging around her gorgeous home. So inspiring!
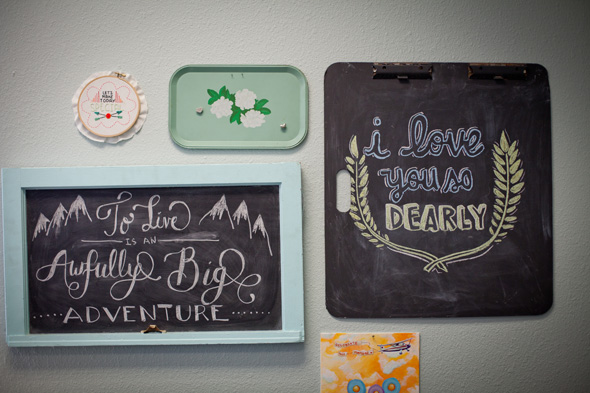
And here are some from the workshop:
Chalkboards are awesome and they make the atmosphere of a room more fun. And yes, those goldfish in the background are for snacking on. Inspiration makes me hungry, how about you?



awesome idea! Great post…thanks for sharing.
Hey this is great! I’d like to try it.
Oh that is really lovely! I love thrifting, too. So much fun to hunt for treasures!
How long, would you say, does the cardboard backing last? Does it pretty much work for one piece of artwork, or for multiple uses after erasing? Just curious as to how often it would have to be swapped out. Love the finished products!
wondering if the chalk dust gets kind of out control. or has chalk improved greatly over the years? i started teaching using chalkboards, but soon transitioned into white boards and then smart boards. couldn’t stand the feel of chalk on my hands…made my hands feel so dry and brittle. :-[
I am sooo not crafty, but I’m sooo tackling this one! Looks great.
You can do it! You can do it! xo
So cute! I bought that same paint at Home Depot last week! An old frame is waiting in the garage…thanks for inspiring me to get busy and make my chalkboard today! Have a great day, and Happy Spring! 🙂
Nice! Thank you Michelle! xo
That looks so easy! Thanks for sharing, and I agree, it does make the room more fun.
Thank you Lisa! xo
This is fantastic, Lisa! I love how easy they are! And now I think you need to teach us how to draw that gorgeous art you’ve put in the frames…the “to live is an awfully big adventure” one is spectacular. When I write with chalk, it’s always really jagged and messy. Do you use chalk pens?
Kyle, from our marketing team drew that–isn’t it amazing!! He used regular chalk, but a damp paper towel can help clean up the lines a bit. xx