Hey friends! I’ve invited Josie again to share some photography tips with you. She is going to teach you how to work the ‘m’ setting (manual) on your camera. Ok, Josie, take it away!
Hi everyone! Today I want to teach you how to use your manual settings, it can be a scary thought changing your settings from the ‘auto’ to the ‘m’ but I promise you, you will be so glad you did!
The first subject I want to teach you how to use is the ISO. ISO measures the sensitivity of the image sensor, in other words, the lower the number the less sensitive your camera is to light and the finer the grain. If you are taking pictures in a low light setting and you see a lot of grain on the photograph as a result, this is because your ISO is bumped up to a very high number. You can find the ISO button near the shutter release button on most cameras. I have shown some examples below. The first example shows the ISO at a very low number of 100, this means there will be little to no grain.
The next photograph has an ISO of 1000, so some grain has started to show. You can particularly see it in the unfocused area.
Lastly, this next photograph was taken with the ISO being at 6400, this is very high and in result there’s a lot of grain that has formed. Some people like more grain on pictures so they don’t mind turning the ISO to a high number, personally, I like when I can’t see too much grain.
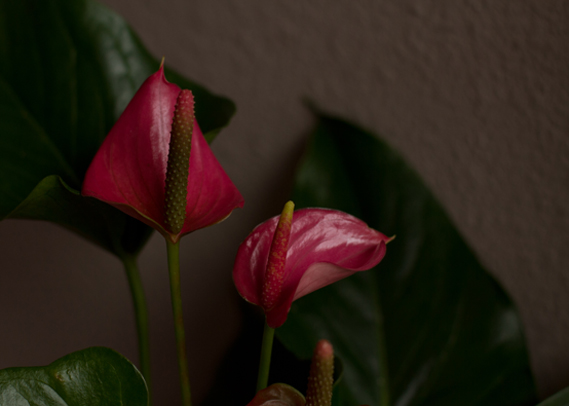
 The second thing I would like to teach you is about the shutter speed, or the exposure. Since the settings are already on manual, all you will have to do is look through your viewfinder and find the light meter. Nikon and Canon are complete opposite when it comes to changing the exposure so you will have to mess with it to see what side is lower exposure and what side is of higher exposure. After you have done this you can test it out! I use Canon and if I make the little line on the light meter go far to the left the picture will be darker like the one below.
The next photo is with the bar on the light meter in the middle, so the exposure should be close to balanced.
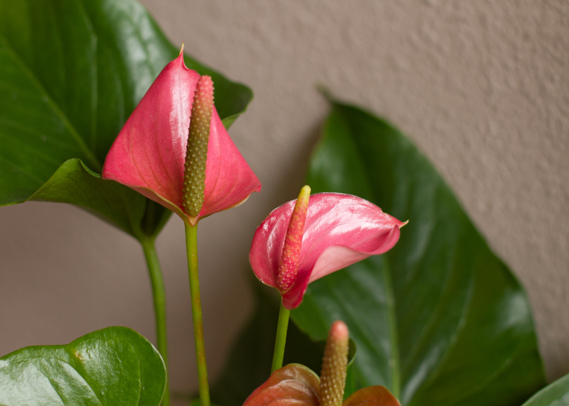
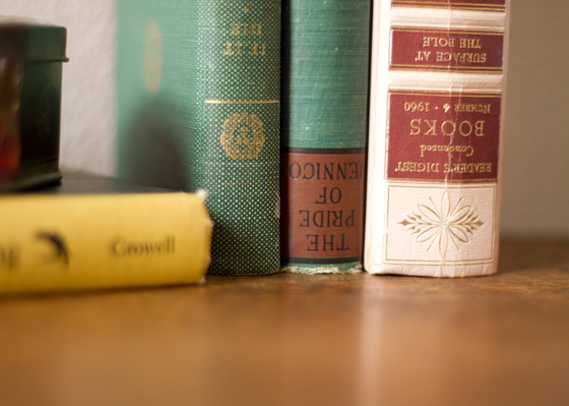
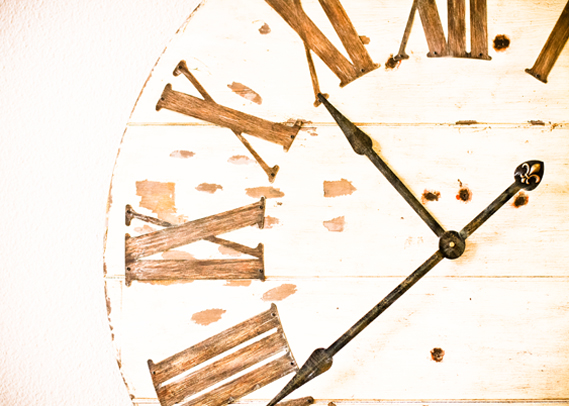
Lastly, the next picture is with a high exposure and the bar is far to the right. Play around with this setting, it can be so fun!
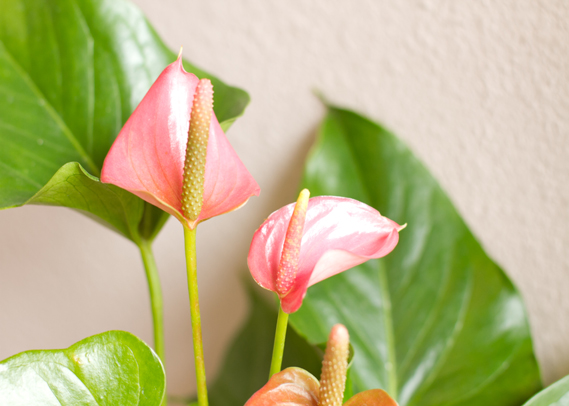
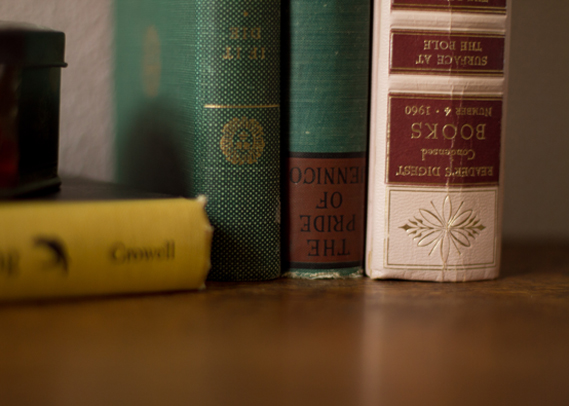
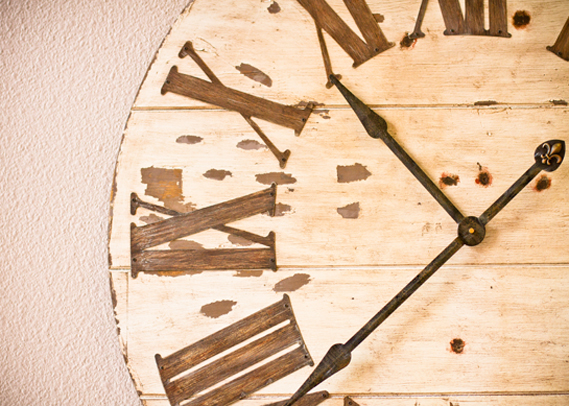
Here is another example of exposure! Low exposure below.
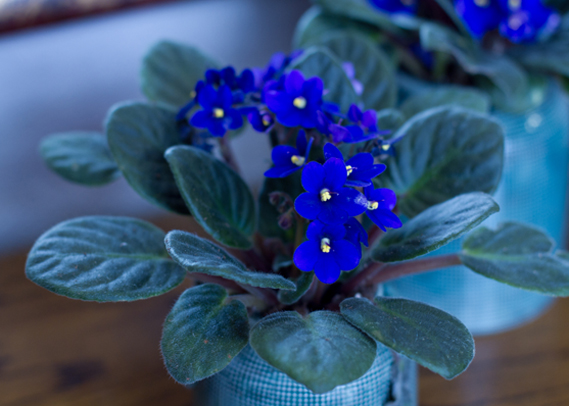
The next tip I would like to teach you about is ‘white balance’. You can normally adjust white balance in your menu settings. You may need to search around, but you will probably see the abbreviation ‘AWB’, which stands for ‘auto white balance’. You can play it safe and keep the white balance at ‘auto’, or you can go out on a limb and mess with the other ones! The below pictures are all the same but with different white balances. The photo below is the ‘daylight’ white balance.
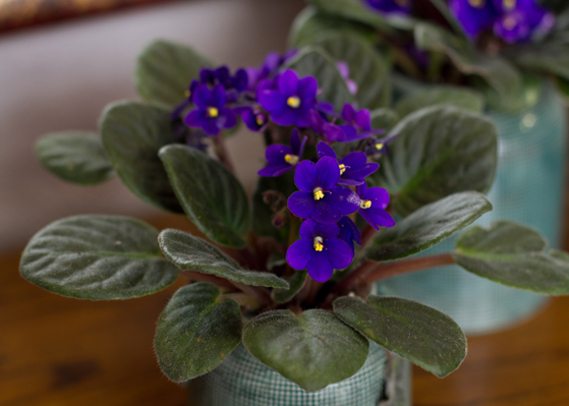
‘shade’ white balance
‘cloudy’ white balance
‘tungsten light’ white balance
‘white fluorescent light’ white balance
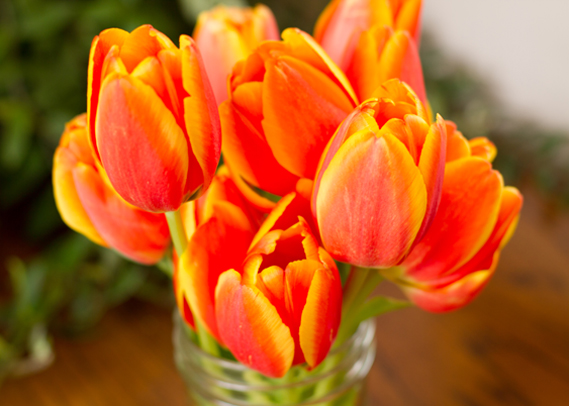
Lastly, I would love to teach you about image quality. When it comes to editing, this is very important. The photograph below is shot with the image quality at ‘RAW’. This will be under the ‘quality’ tab in your ‘menu’ settings. If you want to do any color correcting on an editing software, I would shoot with ‘RAW’. The photograph below is an example of a RAW photograph edited. Something to remember, RAW photographs are very large files, if you do not have much space on your computer or a smaller memory card, I would stick with jpeg.
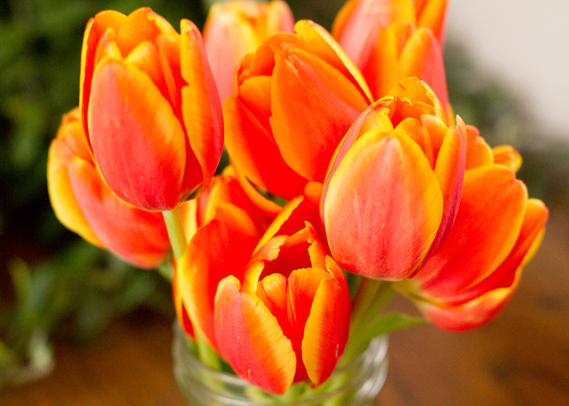
This next photograph is the photo edited as an original jpeg rather than an original RAW file. I applied the same edited settings as the photograph above. As you can see, it looks a lot different and you will have to spend more time editing with this option.
Now that you have become a manual setting expert go out and spend some time messing with the settings. You will find there is so much more that you can do to a photograph to make it your own!
Thank you Josie! I hope you all found this helpful for photography, I know I did! Do you have any other ideas for photography posts? I want to keep these going.


Very helpful tips..as a handmade jewelry maker, I always wonder about playing with aperture, shutter speed and white balance..thank you Lisa!
I’ve been playing around with the “m” setting. I’m just not sure how to find the “perfect” setting in a given setting. I can adjust the aperture, but if my ISO is not set correctly then my pictures won’t work well. I guess my question is, when moving one setting, does that mean your other settings need to be adjusted and how do you know which one to adjust?
That’s a great question Annette! When you adjust one setting you usually need to adjust the others. There is some flexibility depending on what sort of style you are going for. The best way to tell if you are all balanced out is to look the little meter on your camera’s display. This will typically be under your ISO, aperture, and shutter speed setting and will usually have one end being “-2” and the other end being “+2”. When the meter line is somewhere in the middle, you know you have found a balance between your manual settings!
Thank you, Lisa!! I think you just changed my world!!! I’ve been trying it and it’s working!! I still have so much more to learn, so keep the posts coming!!
Oh good! Will do!
I play around with manual. It’s always hit and miss though. I wonder how to get those super sharp focused photos. Do you use manual settings or auto for focus?
Hello! If I am taking my time and focusing on one shot, I usually use manual focus. However, if I am quickly taking pictures of several scenes, I like to stick with auto focus 🙂
Love the tips, and they’re well summarized and portrayed! But where’s the aperture info? That’s by far my most favorite manual setting to play with, especially when using my larger aperture lens to create those photos that really “pop” at you. 🙂
Hi Karise! If you click the “photograph 101” category, you will find a post about aperture!
I need to bookmark these tips!