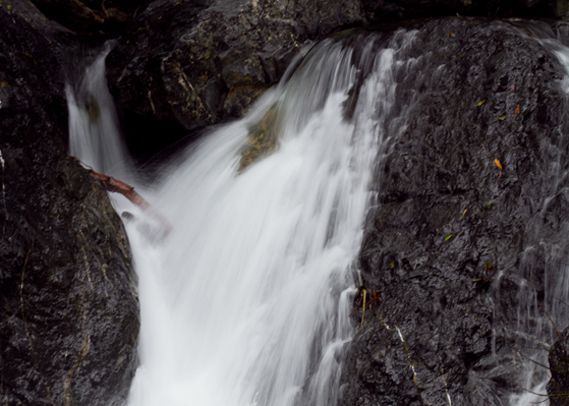
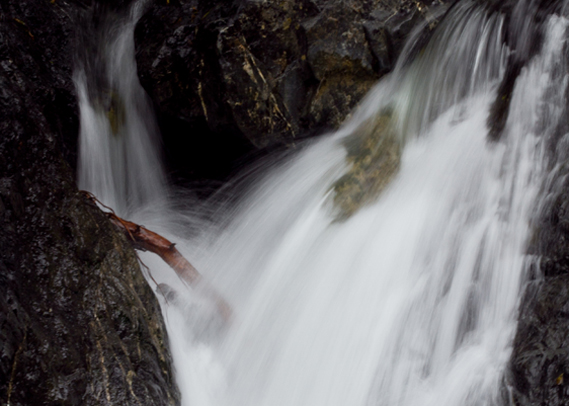
Have you ever wondered how photographers make water look the way it does in the picture below? It’s actually quite easy and I am excited to let you know the trick. You don’t have to be near a beautiful waterfall to practice. I’ll show you some places around the house that will work just fine!
First things first, I only know how to do this with a SLR camera (the camera’s that have interchangeable lenses). If you have an SLR, this tutorial will be for you! Now that you have your camera, make sure to switch the settings to the ‘M’ for manual. This way you will be able to mess with all the settings and master the art of ‘slow shutter speed’.
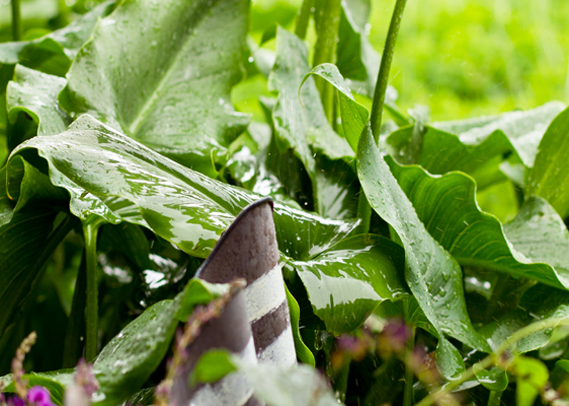
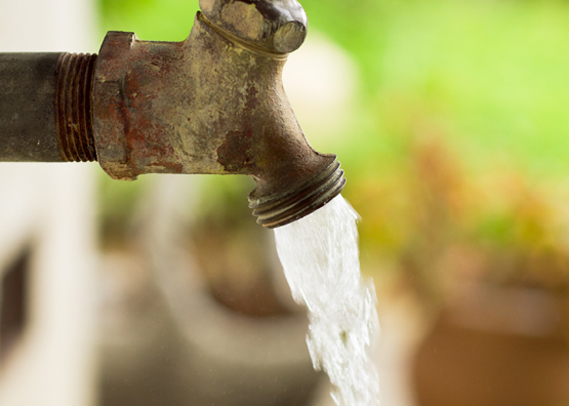
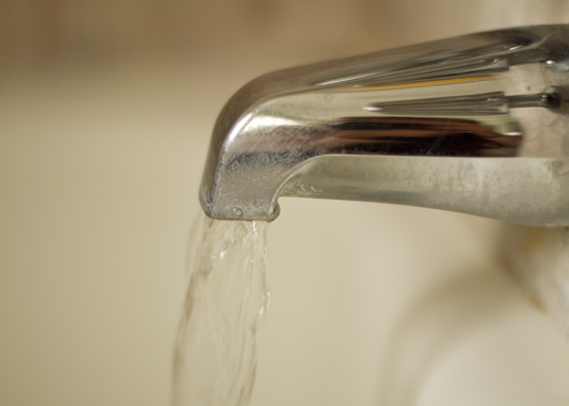
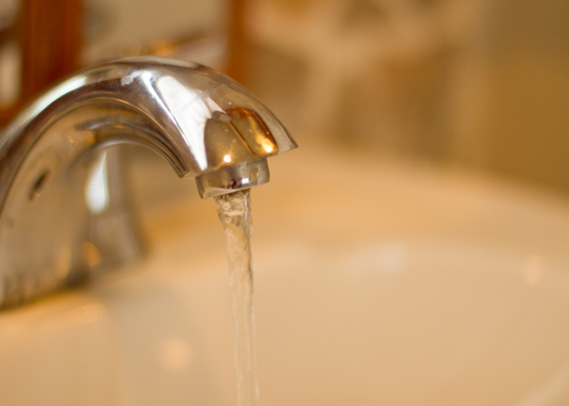
Take a picture with your shutter speed at a high number and your aperture at a low number. This could look something like your shutter speed being 100, aperture being 2.0 and ISO being 400. When you are adjusting your shutter speed, make sure to look in the viewfinder of your camera at the little bar that will go back and forth when you adjust your shutter speed. That little bar needs to be in the middle at 0. Take a photo and notice that the picture will take very quickly and the shot will freeze. See the example below with the faucet, the water almost appears to be frozen.
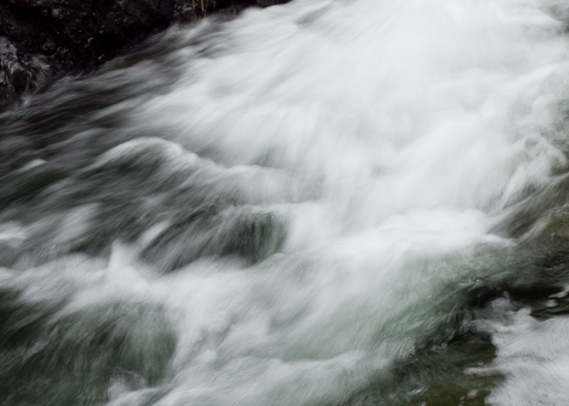
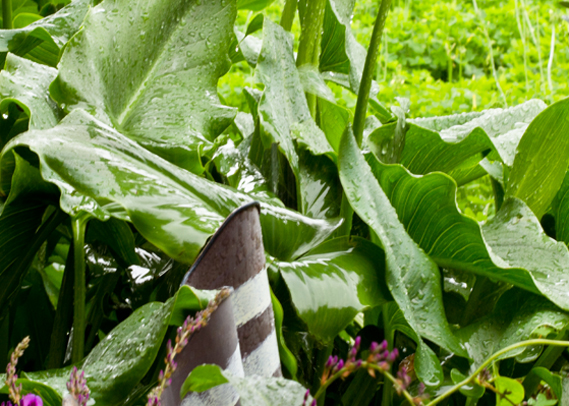
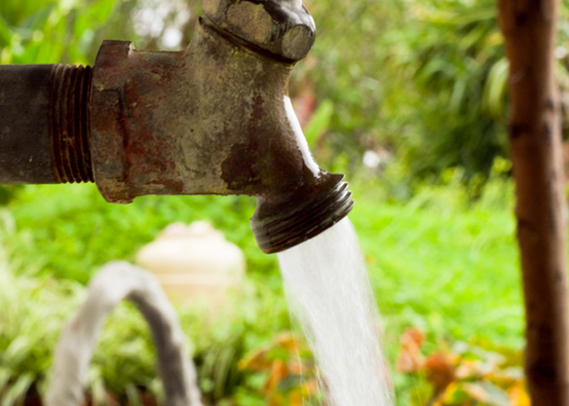
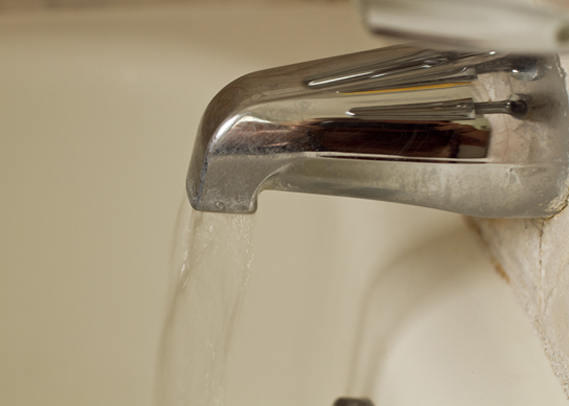
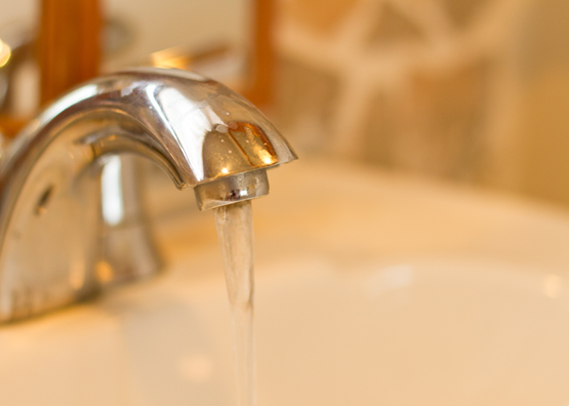
On the contrary, if you want to make the water look like it’s still moving and almost have a ‘foggy’ look, follow these steps! First off, adjust the aperture to a high number, for example: you can make your aperture 11, shutter speed 13 and keep your ISO at 400. Since your shutter speed is a lower number and your aperture is a higher number, there will be a delay when you take your picture. Instead of the picture taking really fast, it will have a noticeable delay. Often times it is hard to get a clear picture from this, so putting your camera on a tripod will be helpful. You will then see that the water looks like it is in motion instead of frozen.
Fast shutter speed with low aperture number.
Slow shutter speed with large aperture number.
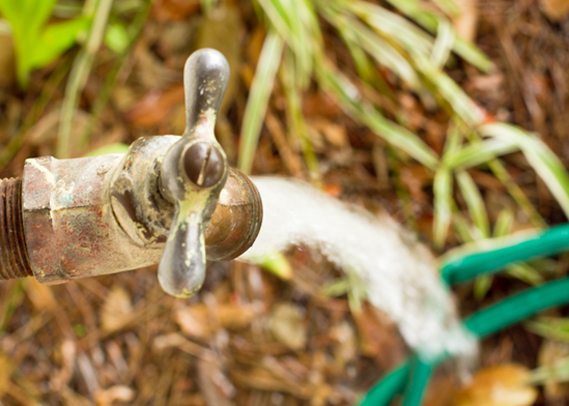
Fast
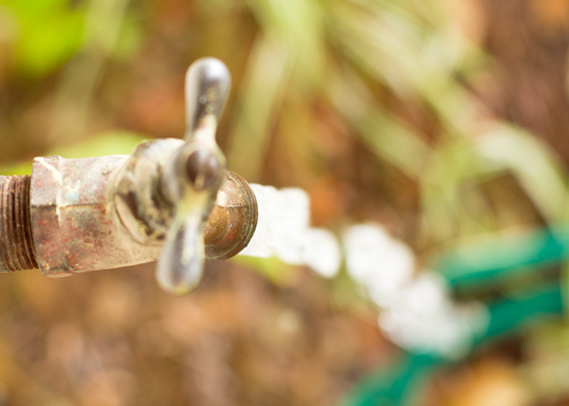
Slow
This picture is very noticeable. You can see that the water is at a dead stop with the fast shutter speed.
And the water appears to still be moving with the slow shutter speed.
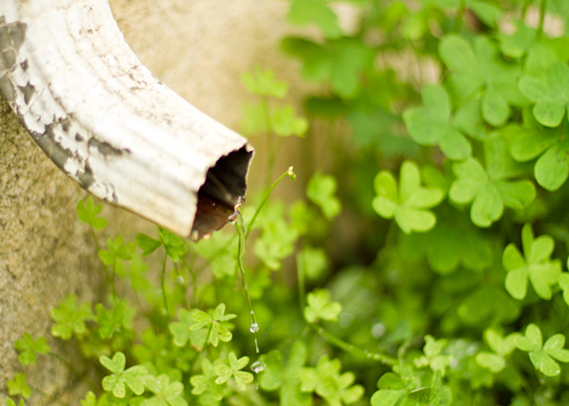
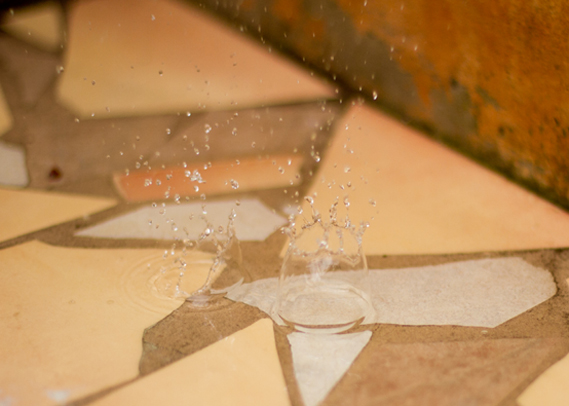
I captured this raindrop hit the floor with the fast shutter speed and low aperture number.
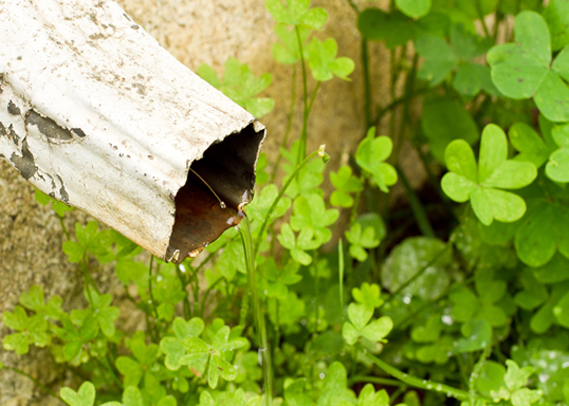
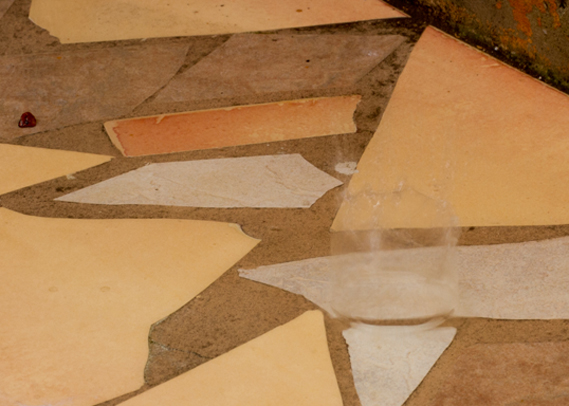
This is the same picture but with a slower shutter speed and higher aperture number. You can barely see the raindrop! It looks like mist.
Another example of a faucet. Practice makes perfect so try every place in the house where you can find water movement.
Once you have mastered the art of a slow shutter speed, you will be able to take a photo like this! Super easy and looks beautiful.
I hope that this was helpful! I love photography and get so excited to share what I’ve learned from others. I wondered for so long how photographers took a photo like the one above and love that I can show you now. Remember, every camera is different and every lens acts in a different way. Play with your camera and mess with the settings over and over, that’s how you will get better and feel more comfortable using it.
What other photography tips would you like? I will do my best to help you master this beautiful art. I still have so much more to learn too!




Lisa,
I tried following the directions you gave for this I am “having issues” (with my camer!). My aperture won’t go below 5.6. Is that because of the lens I am using?? I have Nikon 5100 and am useing the kit lens that is 18-55mm. Is that “my issue”??
It is probably the lens. All lenses go to a certain aperture, and some are at 5.6. You can get lenses that can go down to 1.2! But, the lower the aperture the more expensive. xo
Thank you, thank you!! Just like Jodi, I have a new SLR and am afraid to use it!! I would love to see a post on how you blur out the background.
Most definitely! I’d love to help with that. I’ll keep that in mind for the next post!
Oh my goodness! I really needed this! My hubs got me a new camera for Christmas and I have been afraid to use it because I don’t have a clue! This is perfect and I am a see it learn it kind of person. So I thank you thank you for this!!! I say keep the photography tips coming!!
Jodi
Thank you for the awesome feedback Jodi! I’ll keep these types of posts coming. 🙂
Gorgeous pics! And always so much to learn no matter how much you know!!! Practice makes a better photographer for sure!!!
Most definitely. Practice is key.
today is the perfect day for trying this! Thanks for the info
photography…good stuff! i noticed in your pics of the museum, your indoor shots turned out great! can you share what kind of flash you use indoors for those types of settings?
thanks!
I just use the pop up flash that comes with the camera. Most of the time I try not to use a flash though and just use natural lighting.
Ohhh great tips! Thank you! I have an SLR that I’m learning to use, this truly helps.
I’m glad it helps!
Thank you! I really need to take a class on how to more effectively use my camera – this tutorial was fabulous! I am looking forward to whatever else you share with us about photography!
What gorgeous pictures! You can accessorize and also take beautiful pictures! WOW.
Well, I only have a point and shoot, so of course, this tutorial isn’t for me – but I very much enjoyed looking at all the gorgeous pictures!
Thank you Lisa!
Beautiful. What do you have your focus set on? I think it would be hard to focus on just the right spot with something like a raindrop.
With the raindrop photo I had my focus on manual (the ‘M’) and focused on the area where I thought the raindrop would fall. I still was not able to make it crystal clear, but I tried my best! xo