It’s Thursday and I’m ready to teach you some more photography tips! Today we are going to be talking about ‘aperture’, in other words, how you adjust the depth of field when taking a picture. I have many examples to show you. Remember, practice helps you get better!
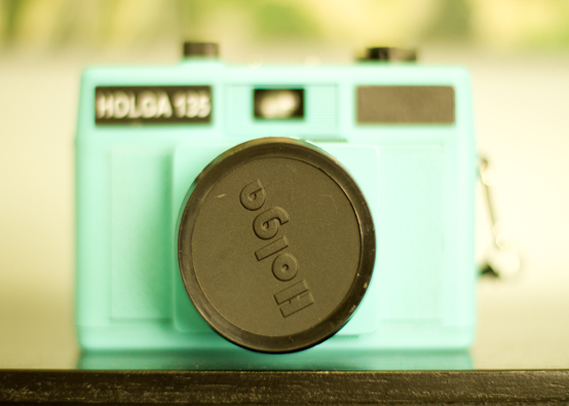
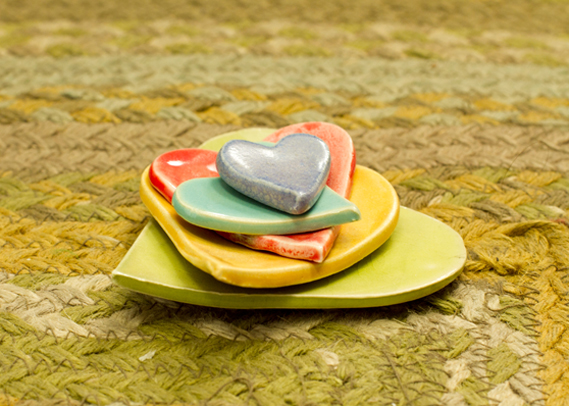
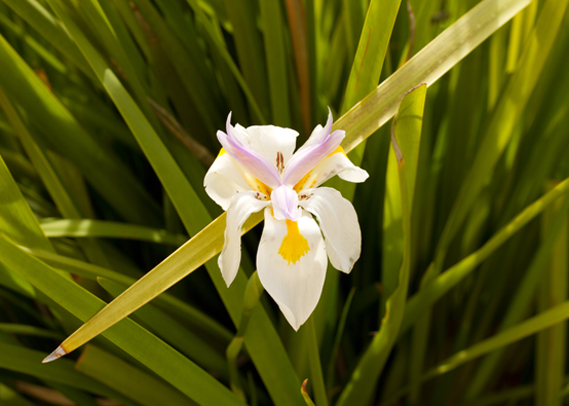
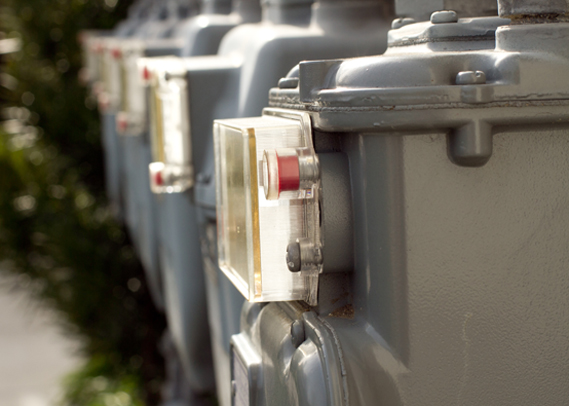
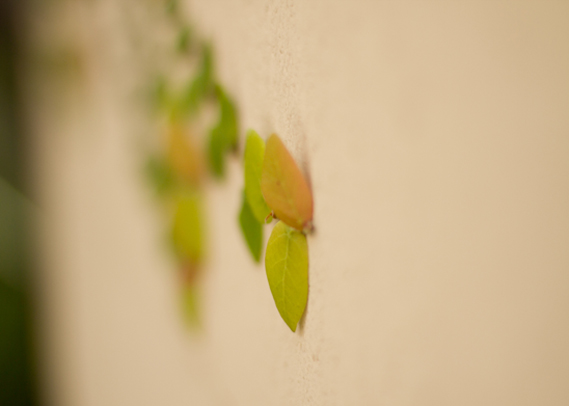
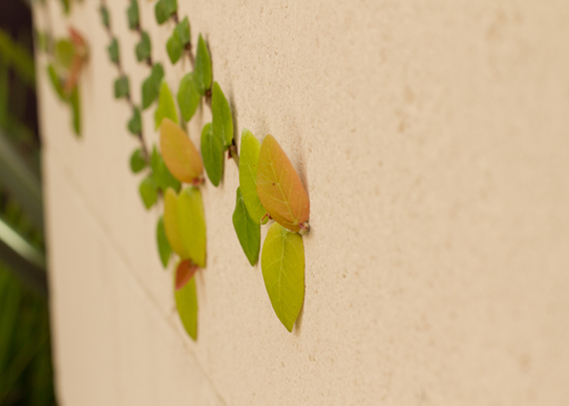
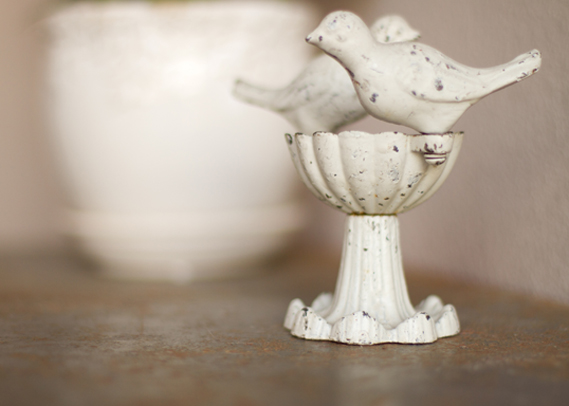
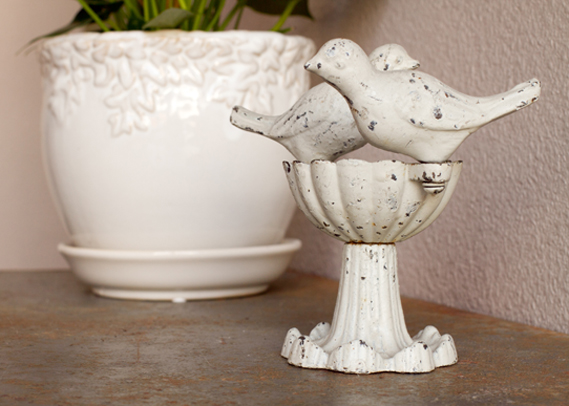
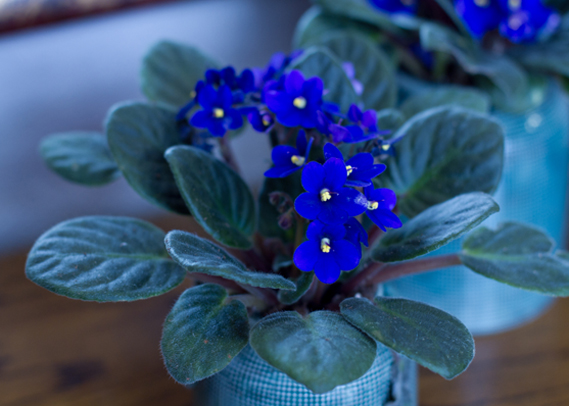
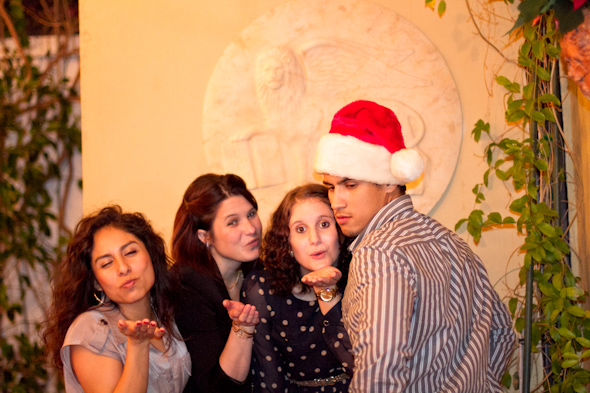
Here is the first example of adjusting the aperture. The picture above is with a low number aperture (1.4) and the picture below is with a higher number aperture (8). The lower the number the more depth of field and more blur will result. The higher the number the less depth of field and more of the picture will be in focus.
To adjust the aperture, you will have to switch your settings to ‘M’ on your camera. When looking through your camera’s view finder you will see a number that is next to the shutter speed. It can be one of the following: 1.2, 1.4, 1.8, 2, 2.8, 4, 5.6, 8, 11, etc… It all depends on the lens you have.
A great lens to purchase to get the extra ‘blur’ would be a 50mm 1.8. I highly recommend it and it’s very affordable in the camera world.
When adjusting the aperture, use the dial on your camera that adjusts the aperture and spin it left or right. Depending on your camera, the dial will be somewhere near the image view screen or by the shutter release button.
Small number aperture above, large number aperture below.
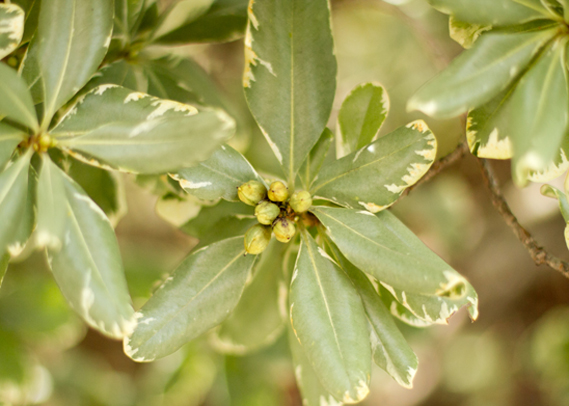
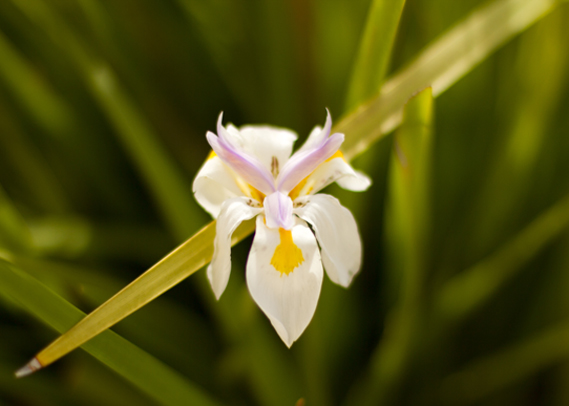
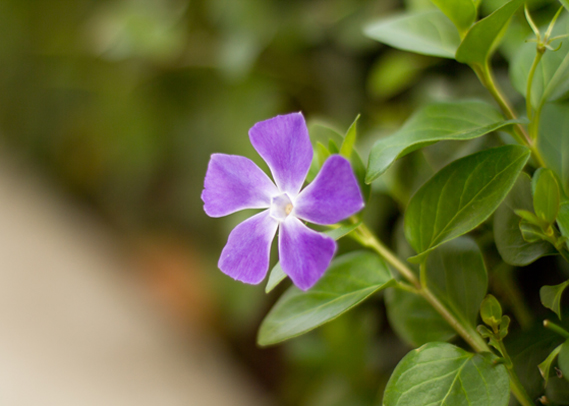
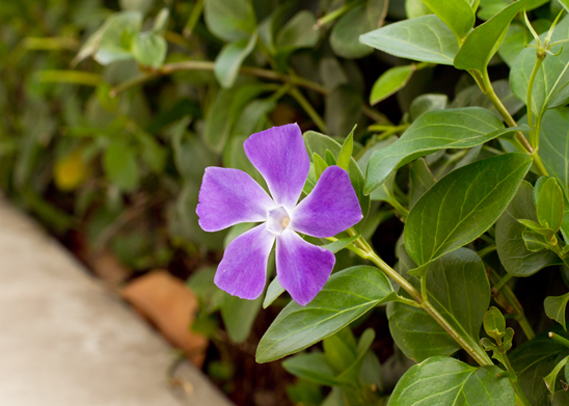
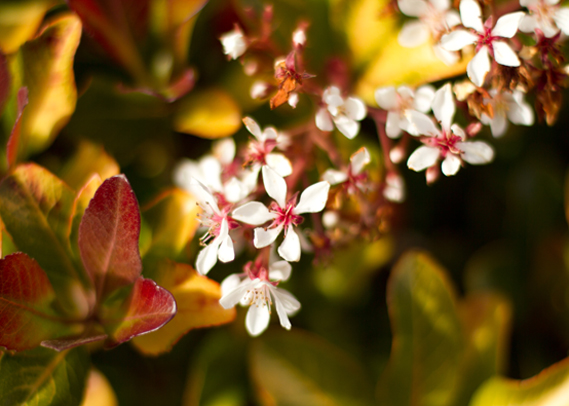
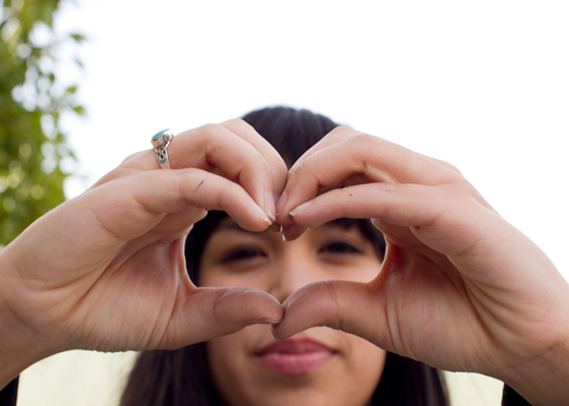
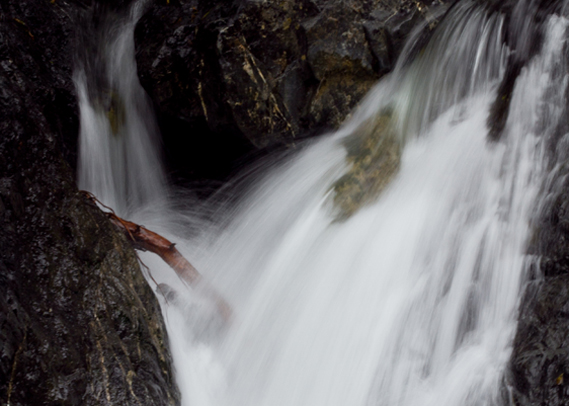
Here are a few examples of aperture adjustment. The first photo will be a lower aperture number, resulting in more blur. And the second photo will be a higher aperture resulting in less blur.
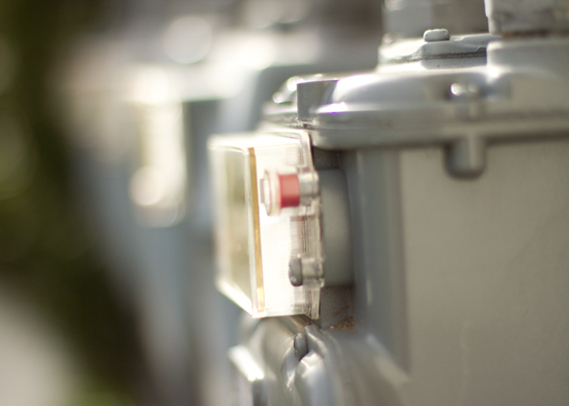
As you can see, all of these photos are exactly the same, all I do is adjust the aperture and it gives the photo a completely different look. I used the same lens for all these pictures and I was standing in the same place. Cameras have so much to them and they are a lot of fun to mess around with. I hope you get the opportunity to fiddle around with your aperture. It just gives you more control! Fun, right?
So what do you prefer, a smaller area of focus and more blur or a larger area of focus and less blur? If you have any other photography tips that you would like to learn please comment below. xo







You said the lower the number the more depth of field and the more blur. I thought a great depth of field means less blur. The field in focus is larger, therefore less blur.
Ohh, so cool! I am bookmarking this post, hehe, thank you for the useful information.
xx
I found you jewelry through Dancing with Ashley, and your blog from there. These pictures are amazing! I think we have a 50mm lens that automatically blurs out the background well, but not this much. This is beautiful, and such an impact! I can’t wait to finally put in my first order for your jewelry I am wanting a necklace with my childrens name’s.
Hailey
I have a Canon 7D and have been shooting with hit for awhile and I’ve always wanted a 50MM lens as that is what most photographers use. Do you have a specific recommendation when buying one? About how much should I be spending on a lens like that?
Thanks!
Dana
Great tips Lisa – thanks! I’m off to experiment!
The 50mm 1.4 is my all-time favorite lens! A couple of great online classes that I’ve taken are:
Karen Russell’s Photographer’s Workshop
Candice Stringham’s O Shoot photography class on Jessica Sprague’s website.
I wouldn’t consider myself a good photographer, but those classes have made me a better one!
Both were priceless! Thanks for your tips, Lisa–easy to follow and to practice. It’s a continual learning process no matter how much you already know!
Pioneer Woman also has photography lessons on her website for free!!! 🙂
Thank you for your recommendations! That’s awesome. xo
I think I am going to be the “problem child” on these photography posts! I soooo want to learn how to use my SLR and I truly appreciate your willingness to share what you know!! A couple of questions:
1. If you are in Manual, and adjusting the aperture, what do you have all your other settings at such as ISO, etc?
2. Could I do the same thing in “A” mode instead of “M”?
I am hoping to borrow my SIL’s 50 mm lens and then maybe it will all make sense!
It’s no worries at all Annette, I want to help! When you are in manual you will have to adjust your iso accordingly, normally if you keep it at 400 and are shooting during the day that’s a safe place to be. With the shutter speed, make sure that the dial inside the viewfinder is in the middle and you should be good. In regards to the ‘A’, you may actually switch it to that setting. It will only adjust aperture and will automatically do the shutter speed for you. Hope this helps!
Visuals always make this easier to understand.
Thank you so, so much. this will help me so much to make my photos look more professional. Again,
Thank you!
More good help! Yay & thanks. Cute stack of hearts btw
Thank You, Thank You, Thank You!!! I just purchased a Canon Rebel T3i and have absolutely no idea how to use it yet or how to get images do different things. I’m really enjoying your photography tidbits. You put them in regular terms which I love since I don’t know the photography lingo yet!!
I’m so glad that this was helpful! You’re going to have a lot of fun with your T3i. xo
Such beautiful pictures. You really make me want to purchase a good camera.
Thank you Lisa!